 Let me give you one piece of advice when building a Powerwall… When you think you are done, think again! the DIY Powerwall experience is an ongoing adventure that has no end! I have recently found myself chasing more power, better cabling structure and cleaning up small faults…I’ve become a mechanic to my Powerwall!
When I left you in Part 5 of the Powerwall series, I said I was done. That was the case, I don’t think I will ever be done. Part 6 is a testament to all the bits and pieces I have done since to get a fully configured Powerwall that I am happy with.
Batrium and Goodwe CANbus Communications Issue
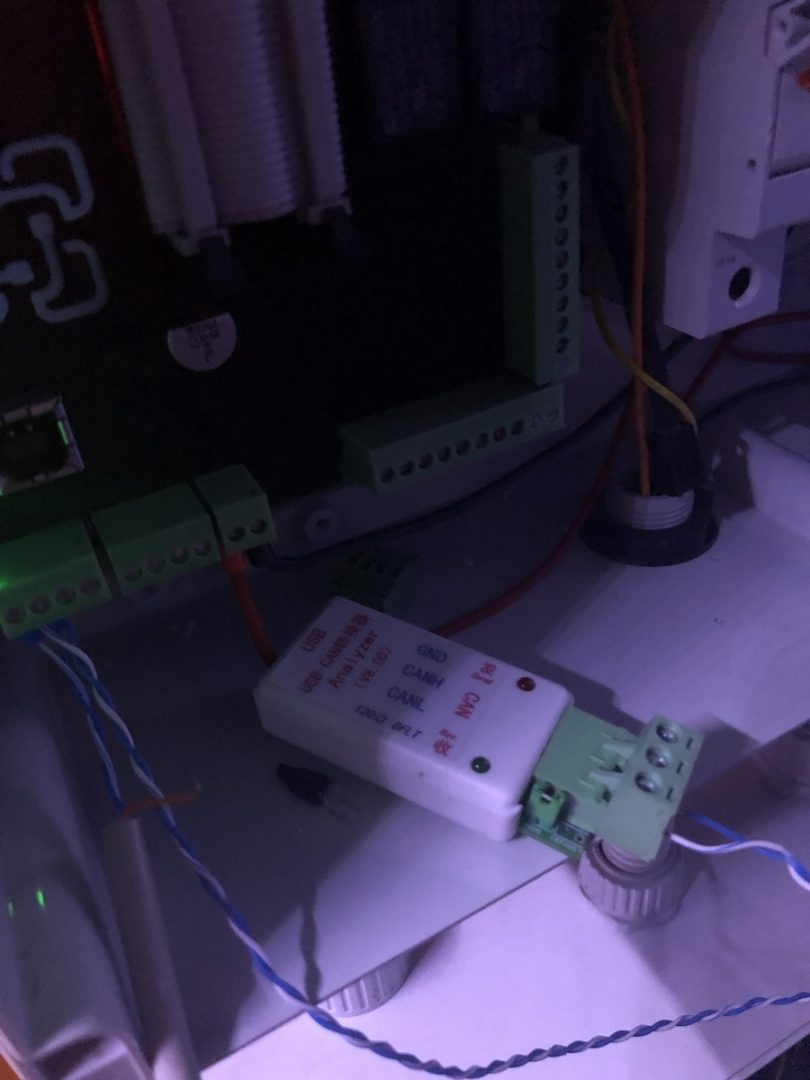
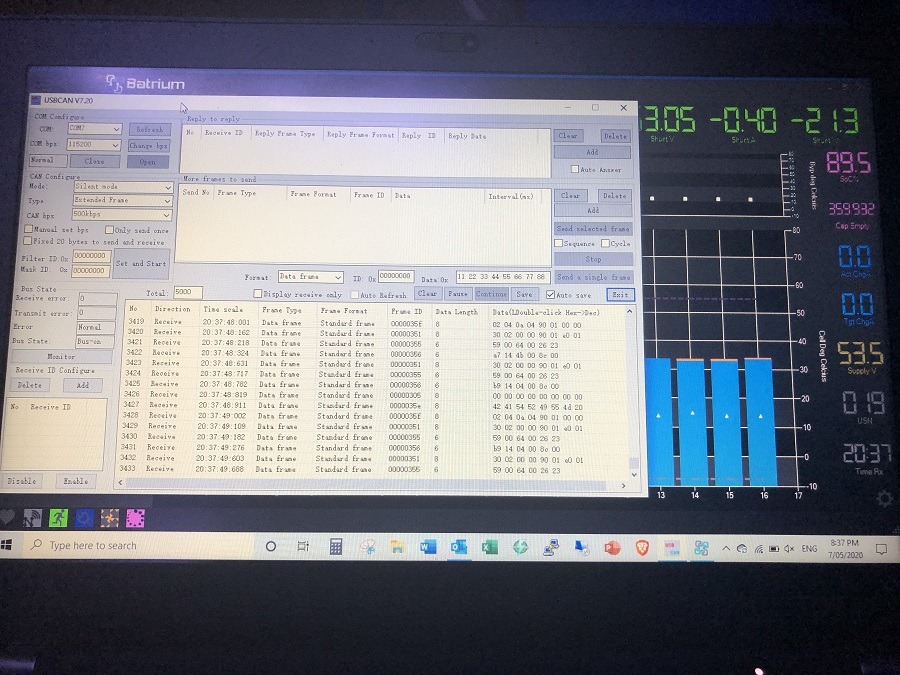
In Part 5, I mentioned and had a video of the problem I was having with the CANbus comms link between the battery management system (BMS) and the inverter. In a nutshell, during discharge, I was seeing the inverter constantly stop discharging from the battery. It stopped discharging then started at random intervals. Now, I spent a lot of time trying to fault find this. I even went to the extent of sniffing the Batrium CANbus comms and learning and converting the outputs so I could see if that was the problem. As it turns out, it was not the CAN comms causing these symptoms.
After two months of trying different settings and combinations on both the Batrium BMS and the Goodwe Inverter, I finally contacted Goodwe again and asked if I could purchase a new Goodwe ‘GM1000’ Smart Meter. The support guys here in Australia sent me one out straight away via TNT Express without charge. It’s kinda like they knew it could have a fault. No questions asked…(Thanks Goodwe!) I was very skeptical that this would fix the issue. However, I did get my electrician over and we installed the new one. Low and behold the inverter could now track the battery usage better and no dropouts on the DC battery side at all! If only I had tried this first!
A battery Upgrade
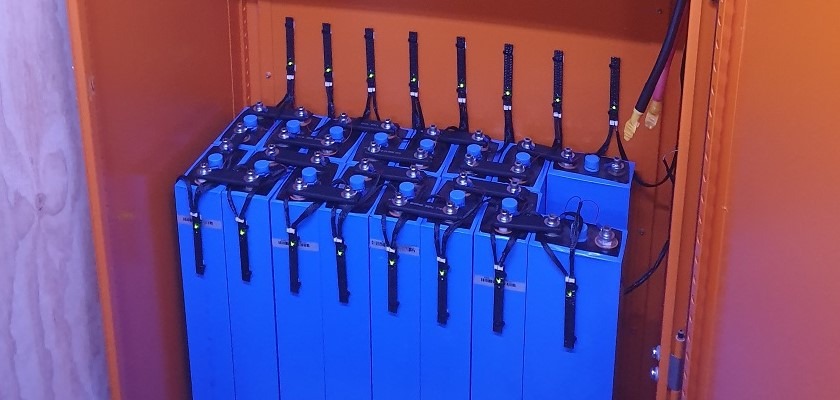
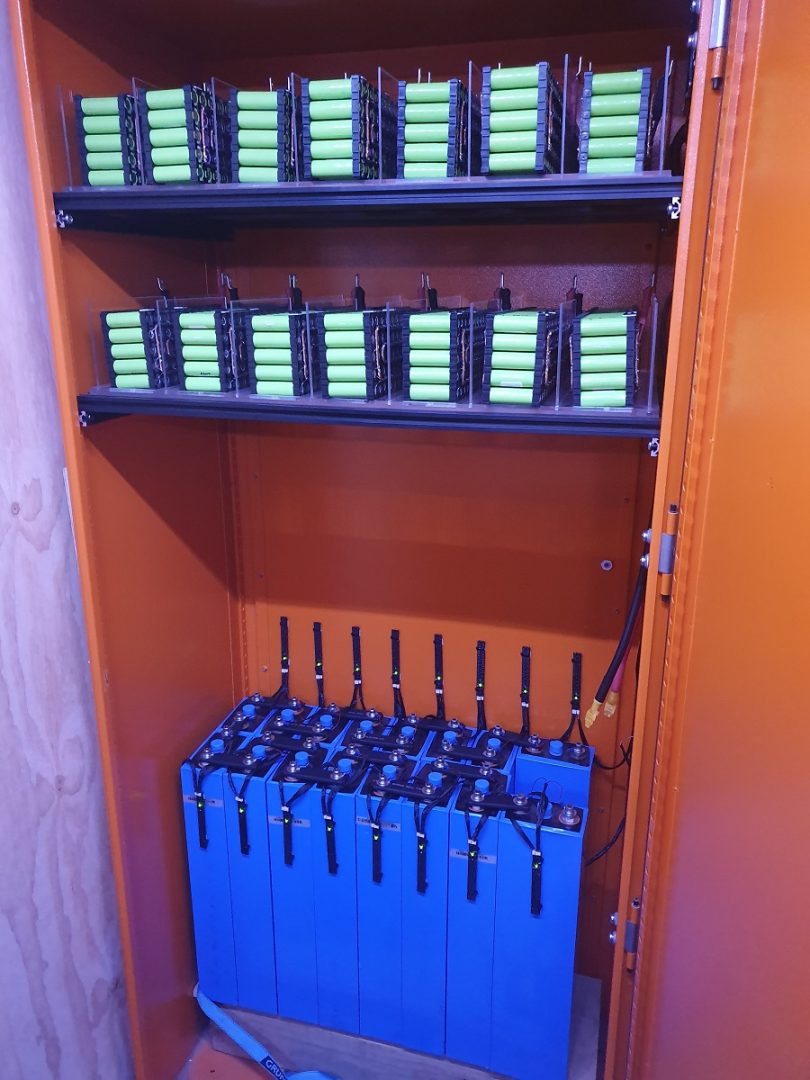
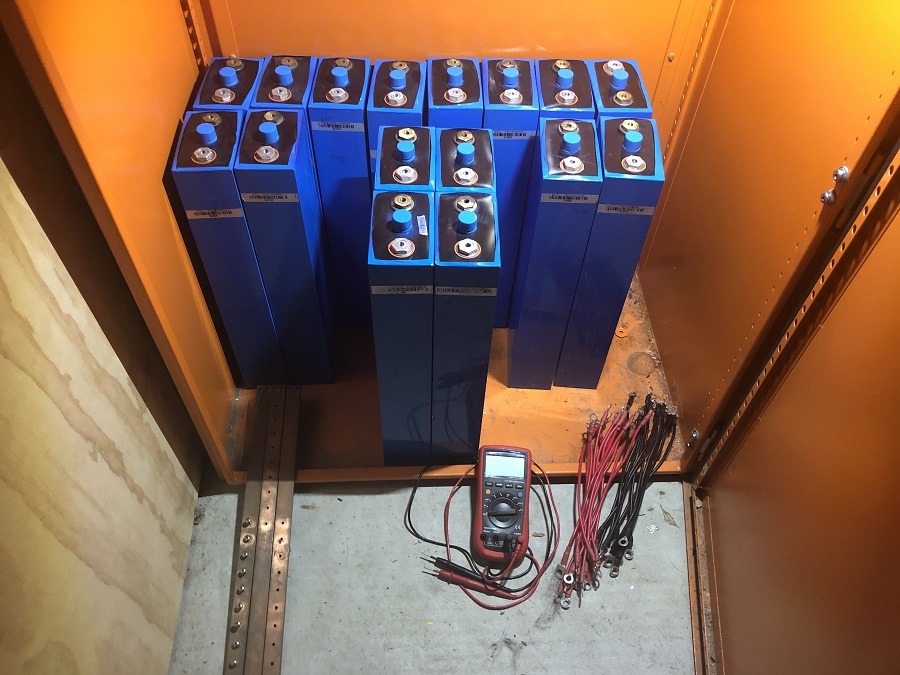 As it turns out, the 9-10 kW 18650 pack I spent so much time on is not enough to give me coverage throughout the afternoon and the night. I went very conservative with my usable battery voltages and on average my battery was reaching its bottom voltage around 3 or 4 am. I was ok with that at first as the power usage between then and when the solar kicks in were minimal. However, as luck would have it, an opportunity presented itself and I was able to get a hold of 16 x LifePo4 prismatic cells. These suckers are around the 400Ah mark in capacity and were used in a trial bus project which by all reports did not progress past a trial. Not only was the added capacity what I needed, but the LifePo4 chemistry is much safer than the 18650 lithium cells currently in service.
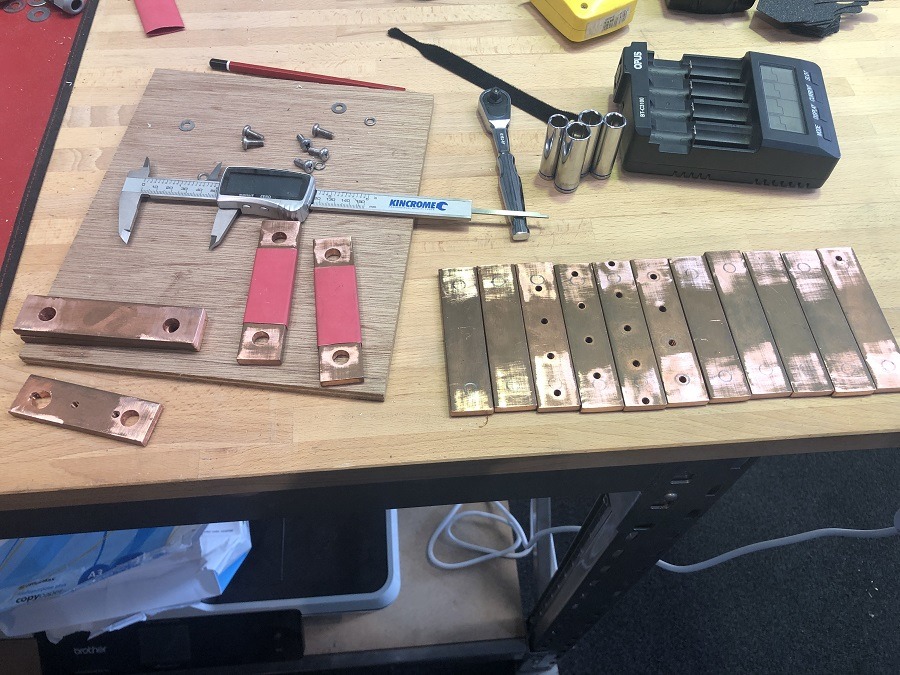
Bus Bars
With new cells come new busbars. I wish it had been this easy from the start. Measure the distance between the lugs, cut and drill some super thick copper and voila, bus bars for days! If only it were that simple, hey! As it turns out, these cells actually swell slightly, and having a solid bus bar can cause issues at the lugs. It is suggested that you use some kind of flexible busbar so that when the cells swell slightly, the pressure is not on the terminal. I am yet to source some flexible links.
Done? Probably not…
So what do you think? after all that I don’t think I’ll ever actually be done with this Powerwall build, however with the fixes and additions, I am hoping that it is more peace of mind and only periodic maintenance. Onto bigger and better projects now. Bring on the Electric vehicle build!
If you missed the first parts of the build.
Part 1 – Recycling batteries
Part 2 – Building Packs
Part 3 – Fusing and cell protection
Part 4 – That’s a wrap
Part 5 – Finally Finished (Kinda)
Interesting projects. I stumbled into your site trying to configure tvheadend. I’m trying to turn my Pi into a PVR to replace my power hungry Series 3 TiVo which consumes 1000W per day. As a parallel project I am building a powerwall that was initially meant to store power for the TiVo, but can now be used to power the less hungry Pi PVR if I get that to work.
Lots of trial and errors and learnings and money spent so far just to save $70 of electricity per year.
G’day mate! Story of my life, spending $$ on projects that may not be cash +. I guess for me it’s all about learning. The powerwall has been worth it though. I am not spending much $$ at all on the house power bills. The UPS/Powerwall for smaller devices is always pretty cool. I have been meaning to build one for my NAS.