It feels like a very long time since I last posted about the powerwall! So where are you at? I hear you asking. I have two words for you. ‘Cell Fusing’. Yep, that’s right, I am still fusing individual cells. That’s 1400 cells, positive and negative. 2800 Spot welds on the most fiddly wire you can possibly imagine. Even if I complete one fuse every ~30 seconds it will still be 24hrs worth of fusing?..let that sink in a bit?
Saying that, it is not all ‘doom and gloom’, I have managed to make some progress on other fronts. The first is the cabinet shelves. I have managed to rig up some V-slot ally that I had lying around for shelves and was still able to use my vertical mounts on them. I also started work on some pack side protection and Longmon mounts. More info below!
EDIT: and yes I know the fuse wire is doubled up, It is easier to work with a continuous length. I am yet to trim them up.
Fusing – Let us have a quick chat about the path I took.
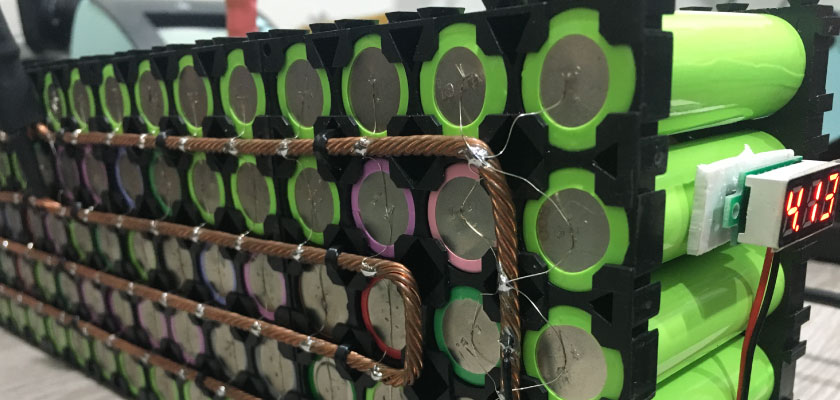
 Very early on I decided to spot weld fuse wire on both the positive and negative sides of each individual cell. My reasoning behind this was that the cells are from unknown batches and even though I tested each cell individually I still did not trust each cell. It would have been a different story if I did not get the batteries from recycled laptop packs. The fuse copper wire I decided upon was around the 32AWG mark and is tinned with copper. This wire gave me about a 2amp draw before blowing. If an individual cell pulls 2 amp then I’m in a LOT of trouble anyhow.
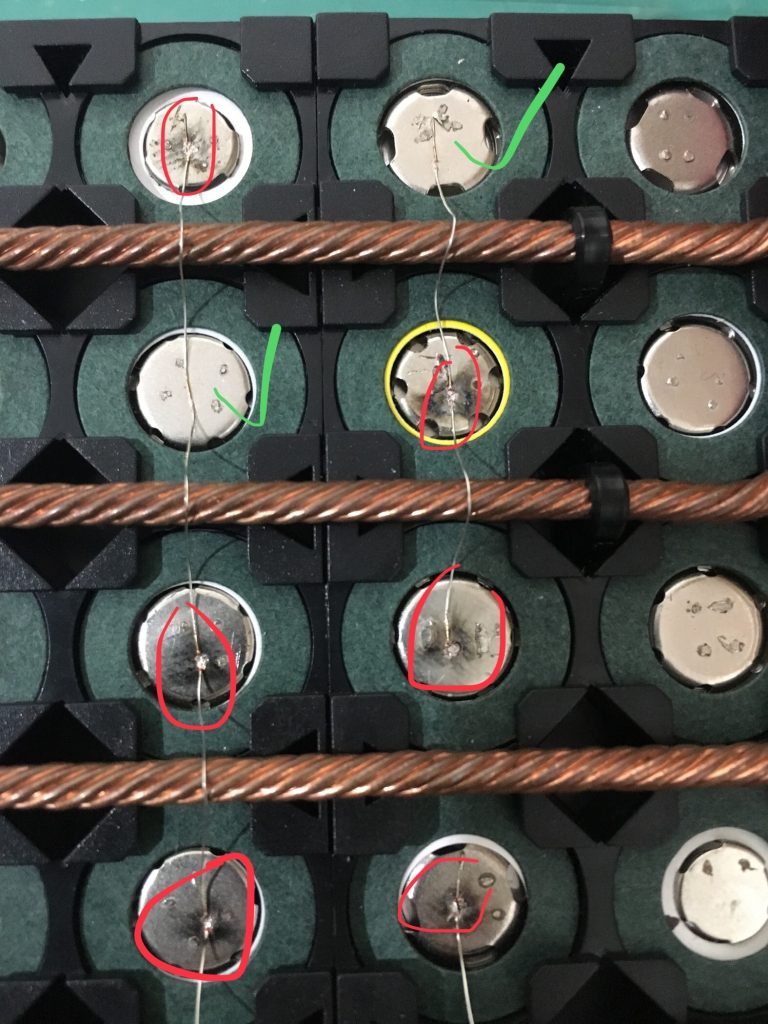
It was pretty clear from the start that I needed to practice the spot welds. I grabbed a pack of 20 discharged batteries and went to town. The biggest thing I will say is that you do not need a lot of power when spot welding 32AWG tinned copper wire. I left the spot welder on 2 pulses and only put the power up to 5 or 6 on the dial. The other technique that needs practice is the positioning of the welder tips. You can either put both tips on the wire and weld or put one tip on the wire and one on the battery surface. Either or, does not really matter, however, I did notice at higher powers the welding tips would arc a lot more if putting both tips on the wire. You will find that the wire will break at the weld if under stress. Thus having two welds on the wire doesn’t really matter.
Cabinet Layout
 My initial intent was to have the battery packs laid out vertically. I felt this was much easier on the eyes and for maintenance easier to get in and out. However, with the size of the cabinets and my battery pack sizes, I was not left for much room if I was to put two banks in. The cabinet was deep enough to run them horizontally and as it turns out uses the space much better. I still have a ton of room for more banks when/if required. Saying that I doubt I will be spot welding more packs any time soon. I still used the vertical mounts but laid them down and mounted to the V-slot. This will stop the packs moving if for some reason we have an earthquake or someone runs into the cabinet.
Cell pack side protection
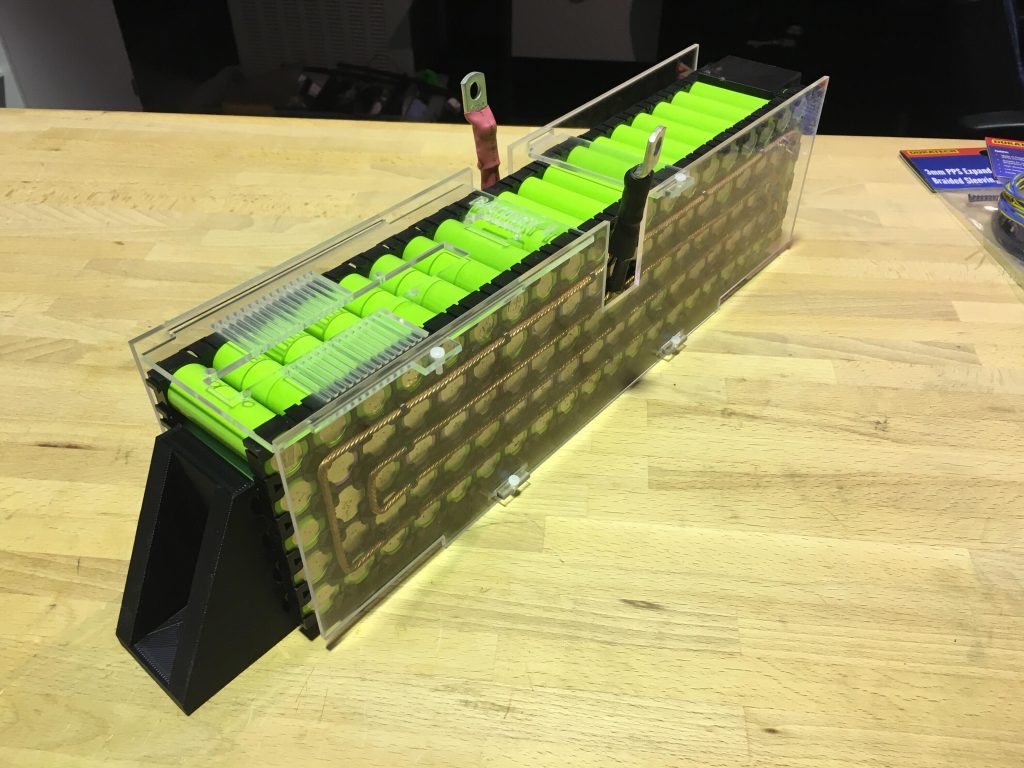
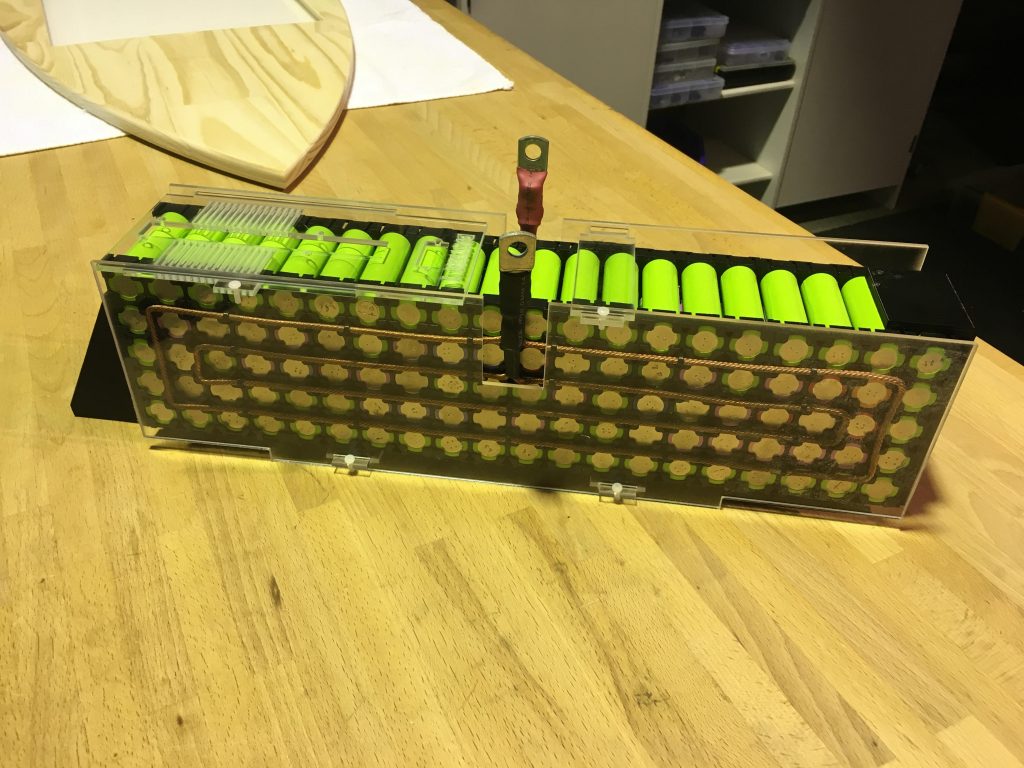
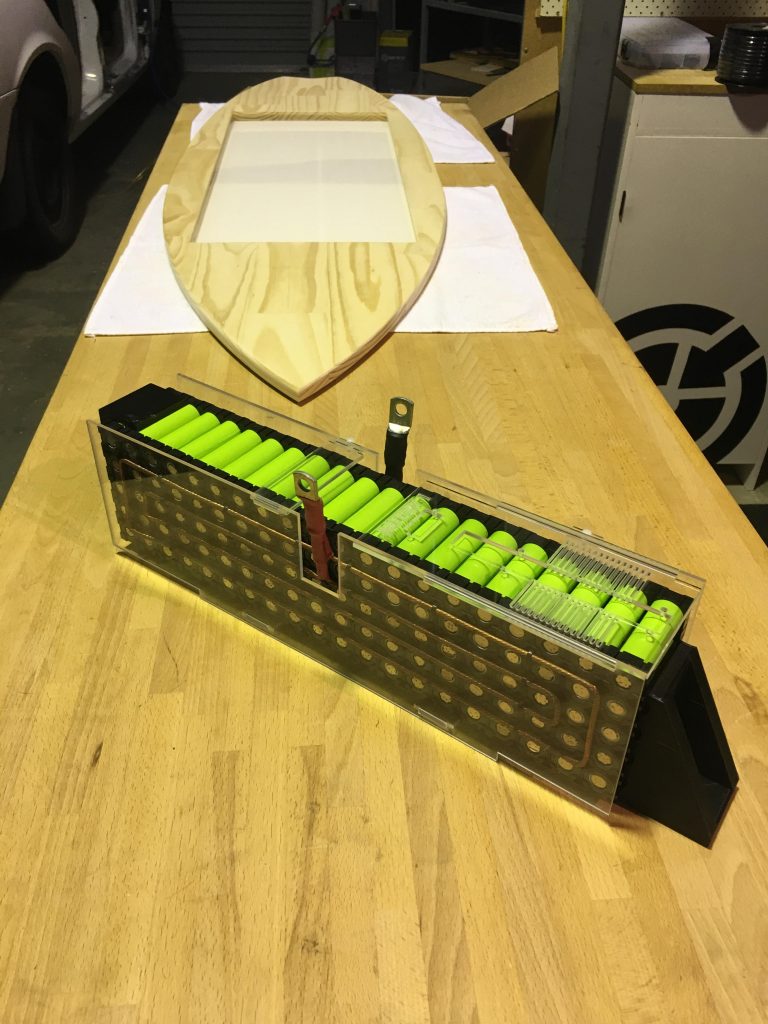
This is a work in progress. Have you heard of the saying ‘Keep it simple stupid’? well, in this case, I am aiming VERY high and already feel that I will be coming back down to earth quicker than expected. Not only am I trying to protect the fusing on the side of the packs, but, I have also decided to incorporate the following items: Voltmeter, Cell Pack Labelling, Some Vents and a Longmon (BMS). I’ve decided to use 3mm clear acrylic and make a hybrid type case. I have attached a design file. It may change once I do the laser cutting. You will have to wait until part 4 to see how it turns out.
EDIT: 13/06/19 – Just in case anyone wanted to know how the first cut of the side protection covers came out. Check out the gallery below. It still requires some adjustments. I feel as if it has been over-engineered. But I will not really know until I try to mount the packs properly. Stay tuned.
Still to come:
- Finish Fusing
- Install Cable tray
- Gland for Shed
- Solar Install
- Watchmon install
- CB and Trip Install
- A lot!
If you missed Parts 1 and 2 of the DIY Powerwall. Here are some direct links:
Part 1 – Recycling batteries
Part 2 – Building Packs
Part 4 – Solar/Inverter Install and BMS
good !