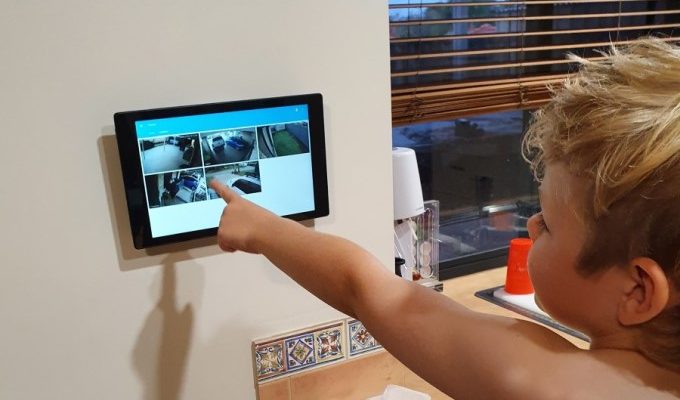
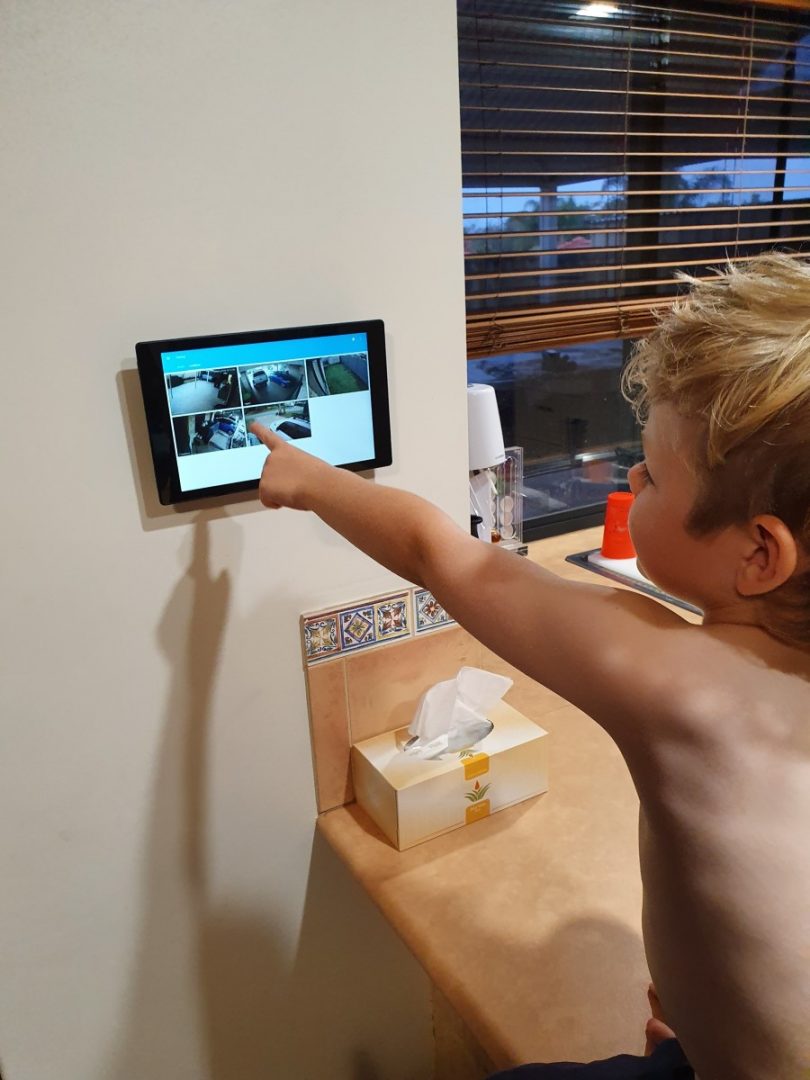
The Home Assistant setup I have is pretty basic at the moment. The biggest problem I have with the whole automation thing is accessibility. I want to be able to turn on or off automation without having to get my phone out. We use our phones enough, adding to it was something I want to try and avoid if I can. It was a pretty easy decision to try and set up a tablet in the most common area of our house. The idea for the tablet was to allow anyone to be able to control lights, security cameras, etc.
So what tablet did I go with?
 The choice was pretty easy, the Amazon Fire HD tablets come in 7″, 8″ and 10″. If you do go investigate your own Amazon Fire tablet, pay particular attention to the generation of the tablet. Amazon has been able to produce a tablet at a reduced cost. The caveat to this is that it runs its own Fire OS (Operating System) which has a fair bit of advertising throughout. However, we will be bypassing a lot of these adverts, you will not even notice it’s on Fire OS by the time we are done with it. Check out the wiki here for a list of generations and the specs on each one.

The price of the tablet varies, obviously the newer the more expensive, however, we decided on the Fire HD 10, 5th generation. The price seemed right for the specs. To be honest, the tablet running Home Assistant doesn’t need a whole lot of resources. (Found one locally for $99)
The Mount
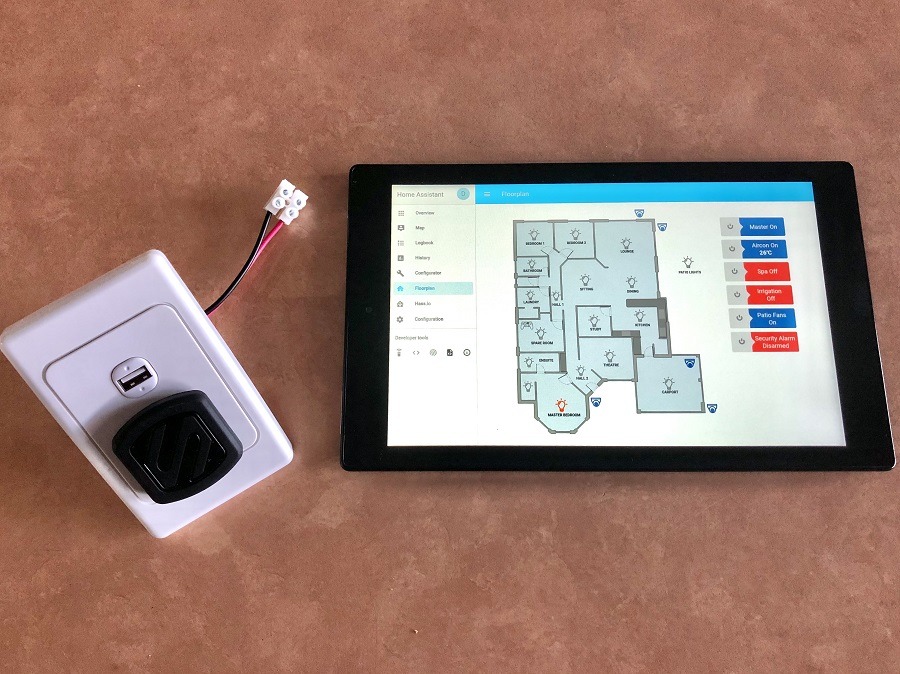 I could have gone in a few directions for the mount. I did think about using an articulated arm so that it could swing out and face the kitchen, however that would make it stick out from the wall. I wanted a very seamless/minimalist look when mounted on the wall. I ended up going down the magnet path as I figured it could be taken off the wall easily enough if it was to be used elsewhere. I did look around for a suitable tablet magnet and gave this one a try. Turns out to be brilliant and very sturdy. (I suggest cleaning all surfaces with rubbing alcohol prior to installation.)
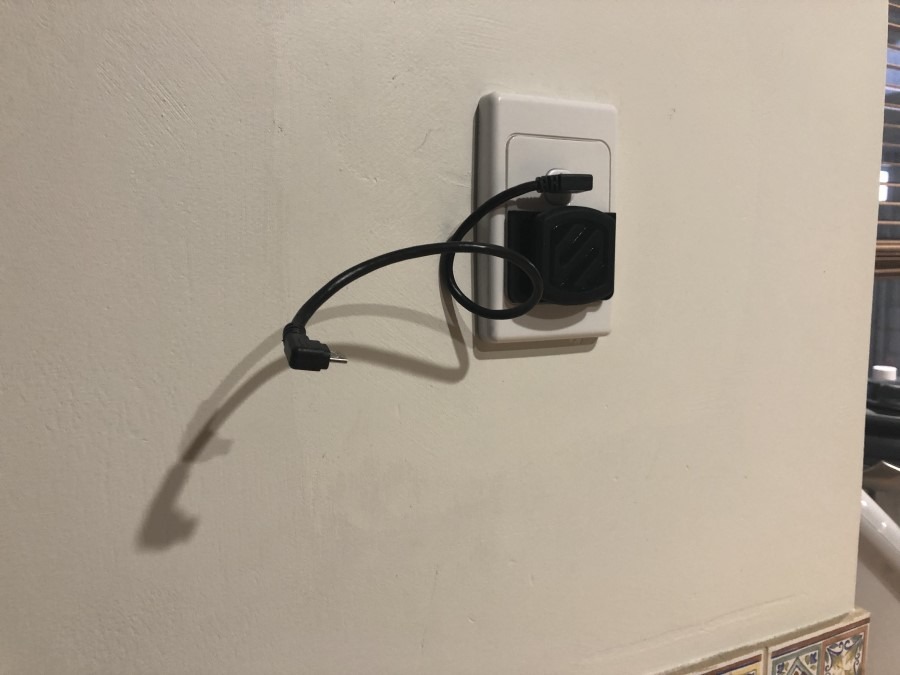
 On the wall side, it mounts directly to a Clipsal electrical wall plate. I did make up a small acrylic spacer to also attach to the wall plate. This would give it just a bit extra clearance for the USB angled connector.
Depending on how you want to power your device, I ended up using an old phone wall port and converting it to a mains powered USB port. (Note: Electrician may be required for this connection!) Usually, these kinds of USB ports are jumped from a 240v outlet, however, I did not want this and got its own line run in the wall cavity.
Fully Kiosk Browser App
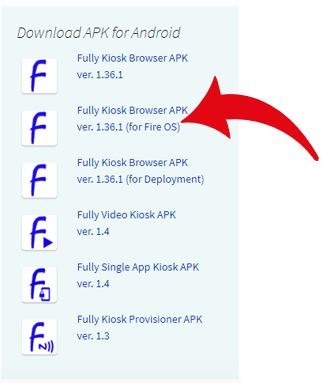 This is the bees-knees of kiosk apps. It looks simple but is very powerful. To get it installed, check out the website here first. Have a bit of a read. Hopefully, if you had a good read you will notice that they do a different APK (That’s the app executable/install file) for different operating systems. Grab yourself a copy of the “Fully Kiosk Browser APK (For Fire OS)” Using this method means you will not have to install google play onto your tablet, it also has some additional features that work only with the Amazon tablet.
I’m not going to explain how to sideload an APK onto an android device, there are plenty of tutorials already on the net, either google it or try this one.
Now that you have the app on your tablet:
When you first open the Fully Kiosk browser app, you will be asked to put in a URL to the page you want it to load. Insert your Home Assistant IP including the port number.
The next two settings work hand-in-hand with each other to provide a couple of benefits. That is the camera motion detection and the screensaver. The screensaver is set so that the tablet is never locked, and the motion detection by the camera is used to turn the screen saver off.
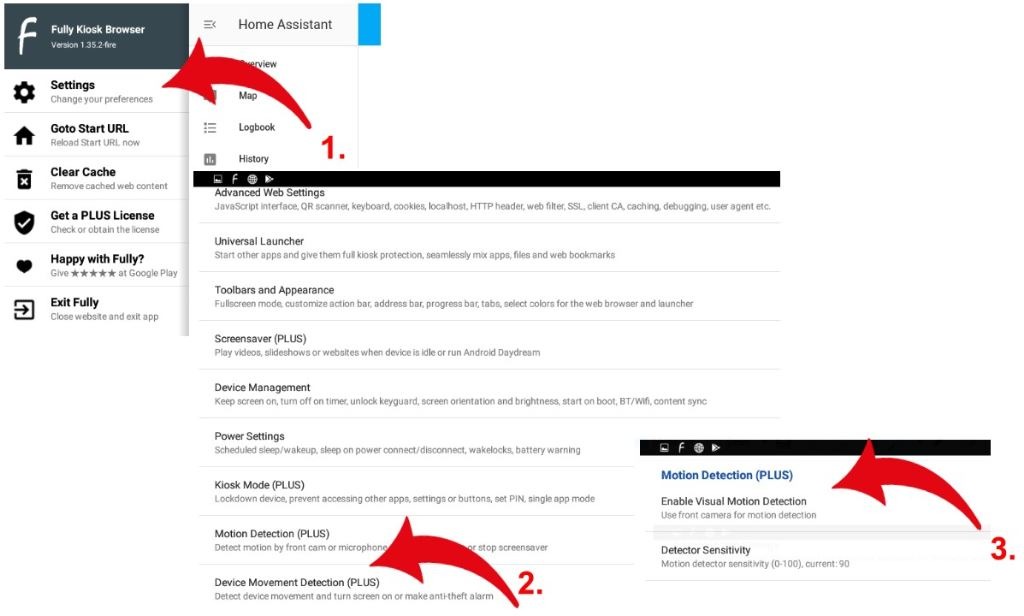 Set up motion detection. To set the screensaver, swipe the left side of the screen to reveal the “Fully Kiosk App” settings.
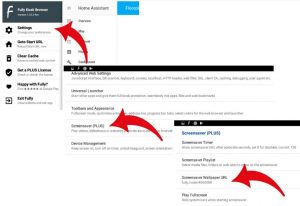 I suggest setting the screensaver up and making it use a black background. This effectively turns the screen off (kind of.) it will also stop any burn-in on the screen. Having the screensaver become active eliminates the chances of the tablet from locking. This then allows the motion detection to work without a user having to swipe through a lock screen. Also, the added benefit is that it stops us from having to view any advertising on the lock screen.
These are the main settings I am using on my tablet thus far, feel free to have a play around. I did end up purchasing a pro copy of the app so that I could mess around with all the settings. Some may not be available on the free version.
What now?
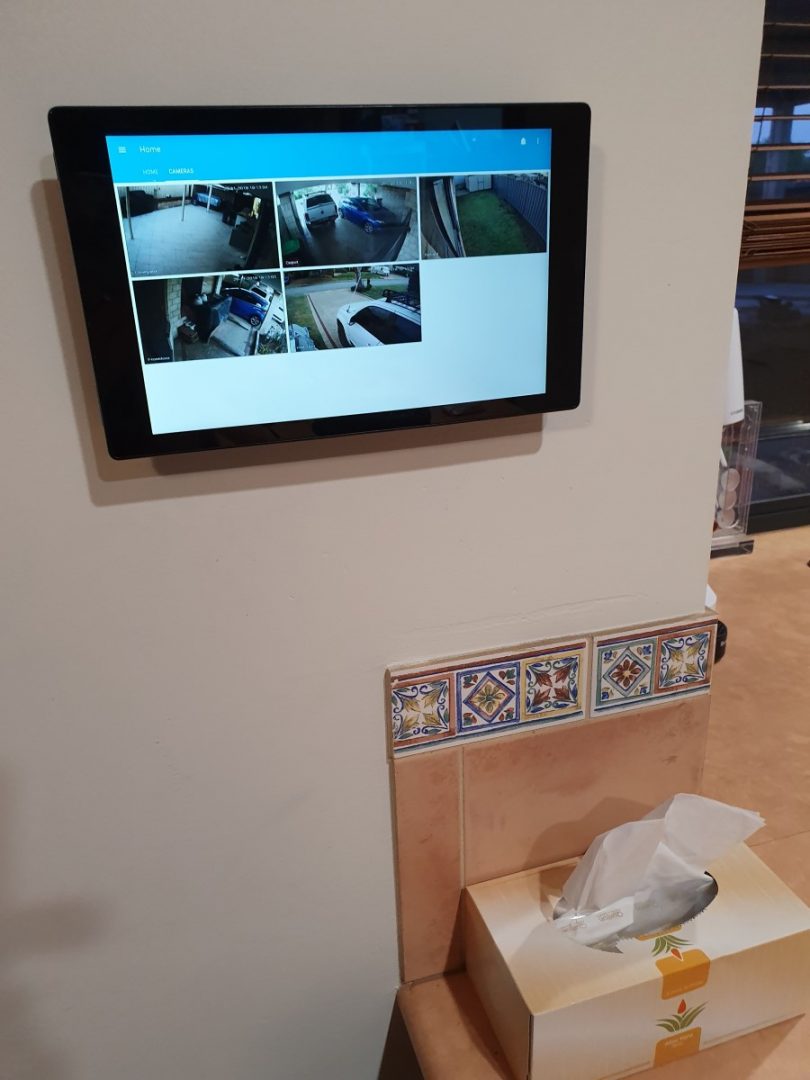
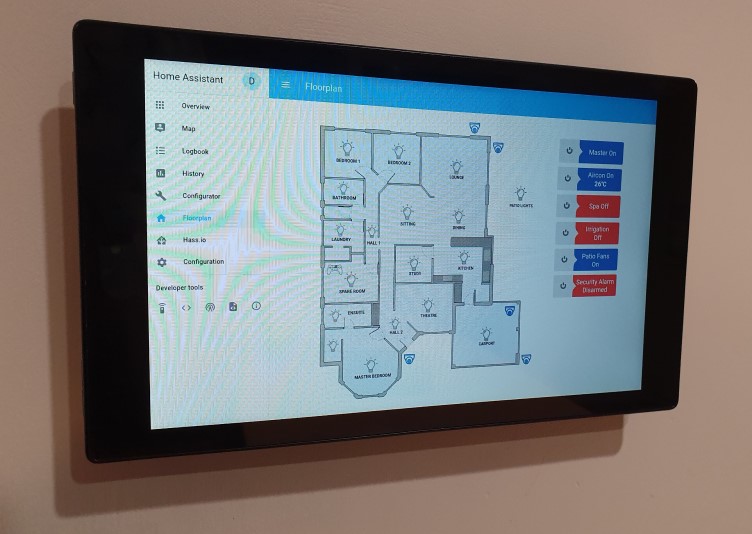
Start working on the home assistant UI to get the layout that works for you. The 10″ version can hold a lot more cards and is a bit easier to work with. Have a good think about what you use the most and have this on the first screen.
I also ended up using a right-angled USB connector to power the tablet from the wall. It took me a while to find the correct one (It’s not pictured.) I ended up using these from amazon. You get two in a pack and they allow you to go either way, left or right.
If you got this far, you are now where I am at. Happy hacking, and feel free to show me your tablet/wall mount builds!
Gallery
Thanks! Your post helped me work out how to set motion detection to unlock the screensaver – I was using Fully already but had got stuck.
Thansk for the post.
I setup my FireHD the same way and even purchased the PLUS app.
Unfortunately it seems Fully Kiosk Browser comes with multiple limitations and without ANY guarantee to work (even in PLUS version) with FireHD devices.
I contracted the Fully Kiosk Browser support for this, but just got the reply that they unfortunately are not able to fix anything.
Based on this it would be great to at least inform the reader about this limitations:
https://www.fully-kiosk.com/en/#faq-fire