In this scenario, we want to use a mini travel router to act as a VPN client so that when we connect any device to it we know the data will be safe and traverse via a VPN. This kind of setup has a few benefits. The first being the fact that we only need to load one VPN config onto the router and any device that connects to it will use the VPN. This saves us time in setting up our phone, PC or tablet with the VPN config. We can assume that when connected to the travel router we are using the VPN.
The second is portability and travel. Using the travel router in a hotel or a restaurant means that our data is safe and secure. (Assuming you connect to the local wifi with the travel router in bridge mode.)
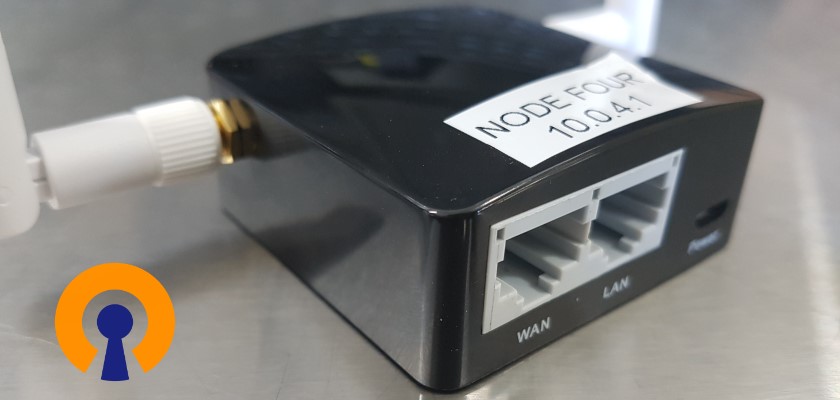
For this demo, we have decided to use the GL-AR300M Mini smart router. This router acts as an OpenVPN client which is what sets these small devices apart from any others. Not all travel routers have this functionality.

Signing up to a VPN service
 The first thing we need to do is sign up for a VPN service. Yes, we could run our own VPN server, but what’s the point when you can get top class servers and better speeds for a few dollars a month. Not all VPN services are alike. Some keep logs, some don’t, some allow P2P traffic, some don’t (Few VPNs have been able to prove they don’t keep logs….but from a security point of view, a VPN with no logs suits us the best.) We also want to look at where the servers reside and what services we can put over the VPN. For example, we do not want to connect to a server in Europe if we are located in Australia. However, the Australian server may not allow P2P traffic or torrenting. These are just a few of the things to consider when signing up.
We use IPvanish, it is a reliable, no logging VPN services that we have no issues with. Feel free to give it a go. Or do a quick google search and you will be inundated with services to use.
Where to obtain the config files for OpenVPN?
 As we are using the GL-AR300M and it uses the OpenVPN protocol we must search our VPN provider for an OpenVPN configuration and certificate. Without this, we cannot connect securely to the VPN service. Most services will have a location and the files will be split into servers. Pick the server you require and download the OpenVPN config and certificate. In our case, we downloaded every single OpenVPN config for all servers. We then extracted the config we wanted (A Melbourne based server) and created a .zip file with only that config and the certificate.
Loading the config onto the travel router
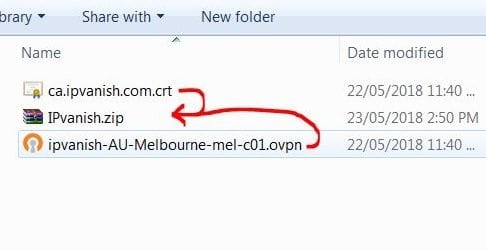 Depending on how the OpenVPN config is delivered to you, there may be an additional step to create a zip file with the certificate and the config. At times the OpenVPN config file can include the certificate. But generally, for VPN services, a separate VPN certificate is used.
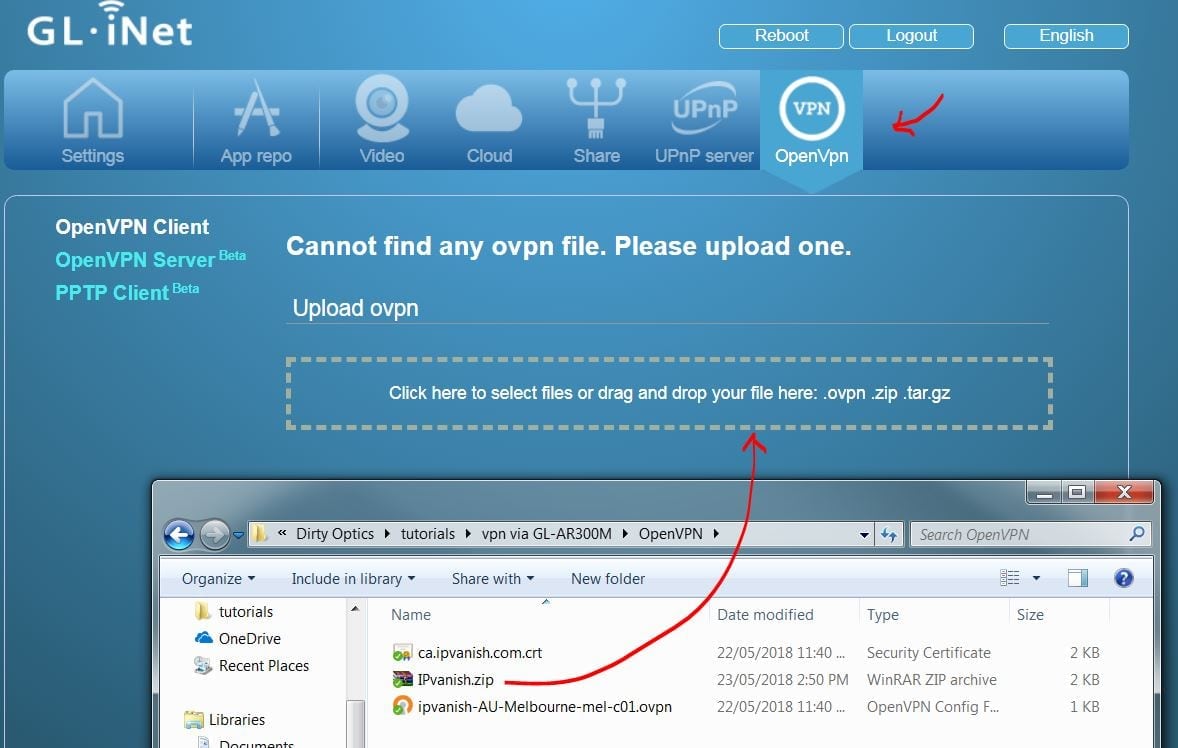 Log into the GUI of your router and locate the OpenVPN tab. From here we can either upload the OpenVPN config or our ZIP file containing the config and the certificate. Once installed, we can then go ahead and activate the VPN profile. You will see a log at the bottom which indicates if/when it is connected and how much data is passing over the VPN. You can also look into using other settings to confirm that the VPN is being used.
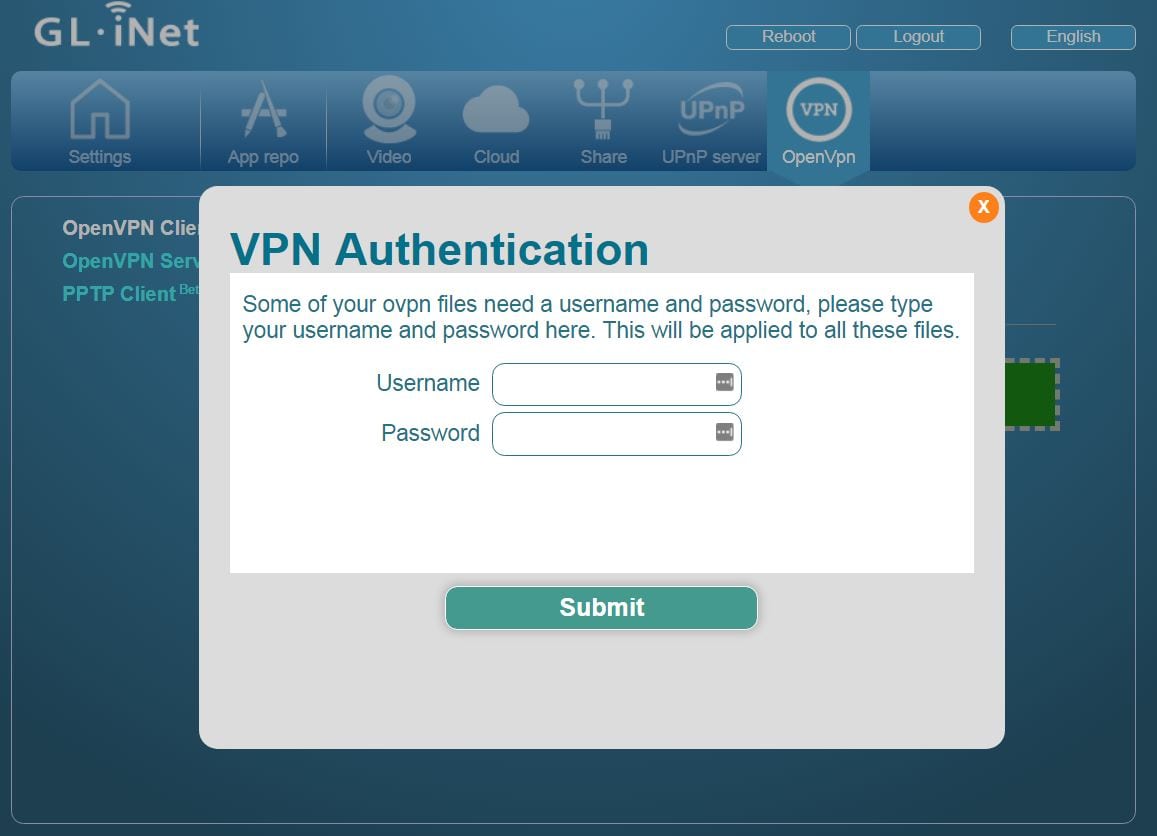 You may be greeted with some VPN authentication. You only need to do this once and it is most likely the same login that you use for the VPN service. For IPVanish it will be the email that you registered with and the same password you use to log into the website.
 Once Authenticated, the VPN should be good to go, simply click the ‘enable’ checkbox and ‘apply’ the settings. You should then see the VPN begin to connect. If you get errors in the log at this stage it will be an error with the certificate, OpenVPN config or your Authentication. It is possible to load up multiple OpenVPN configs. Use the dropdown box to select the server/config you want to connect through then click apply.
Some assumptions we have made…
 This tutorial assumes that you have already connected your travel router to a hotspot with the internet ie. Hotel, Maccas, Home. Obviously, this is the link that we will tunnel through with our VPN service. There are some settings to ensure that the internet does not work without a VPN connection. This ensures that the VPN is being used at all times. Also, we set the DNS to use Google DNS. (8.8.8.8 as primary and 8.8.4.4 as an alternative.)
Confirm VPN is working
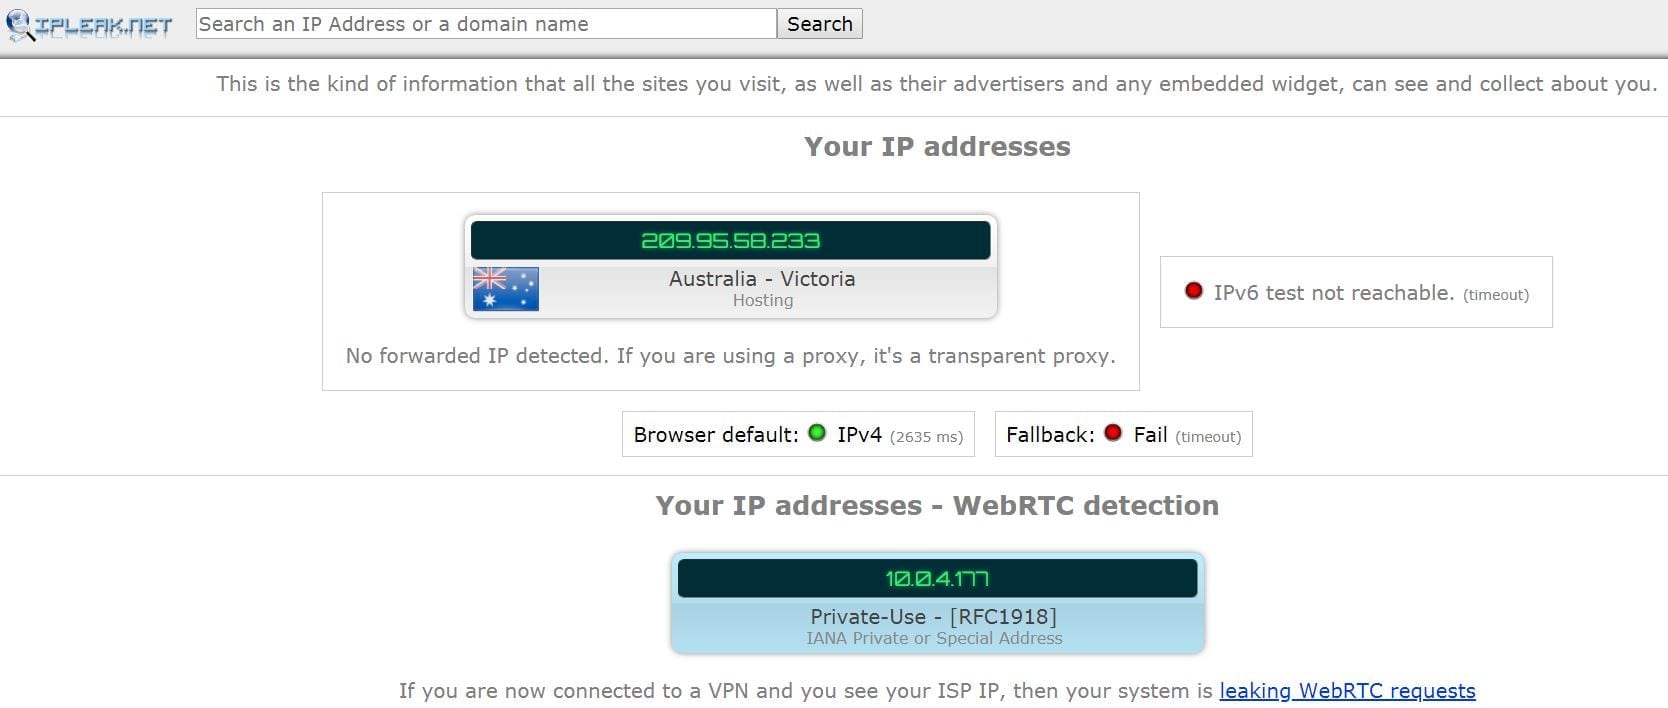 One way to confirm that your internet traffic is traveling through the VPN is to use https://ipleak.net/website when you are connected. You should see that ‘your’ IP address is that of the VPN server you have selected. Also can check to make sure the DNS servers being used are masked.
Thanks for the article. One thing you left out was what operating system to select for the router. I am going to try Linux first, then Android. It shouldn’t be Windows, Mac or iPhone.